Stig's Goin Crazy On The Miata: Modifying Like a Mad Man!!!
#61
now you have to paint the track wheels pink cause only real men race with pink wheels
#68
it'll be dropped, it's going to get Spec-Miata suspension, one of my sponsors is pulling the part numbers and finding the parts I need . . .I want to replace all bushings before that's done.
^_^
-Stig
^_^
-Stig
#70
Yeah some of them are a little out there, but as time goes on, they're becoming more and more focused towards the actual sport of racing, I just picked up another sponsorship (which I need to update) from Johnson Racing Development . . .www.shopJRD.com and they are pulling the suspension sources for me . . .hopefully this turns into a big one . . .
-Stig
-Stig
#73
Alrighty, here we go, just a little update . . .finally got the pictures from the camera!
As some of you know, my car ran into a snafu with the curb a few weeks back, since then I've repaired the car with new parts, here's how it went down . . .
----------------------------------------------------------------------------------------------------------------------------
First, I had to get the car in the air and get the wheel off (bow chicka bow wow) LMAO!
This was easily done using a 6-Ton floor jack and two jackstands. We picked both sides up because I'm also changing the tie-rods and tie rod ends.
Why?
Because it's easier to just go ahead and do it while you're already under there, and most cars have those parts blown out anyway as they should be changed regularly.
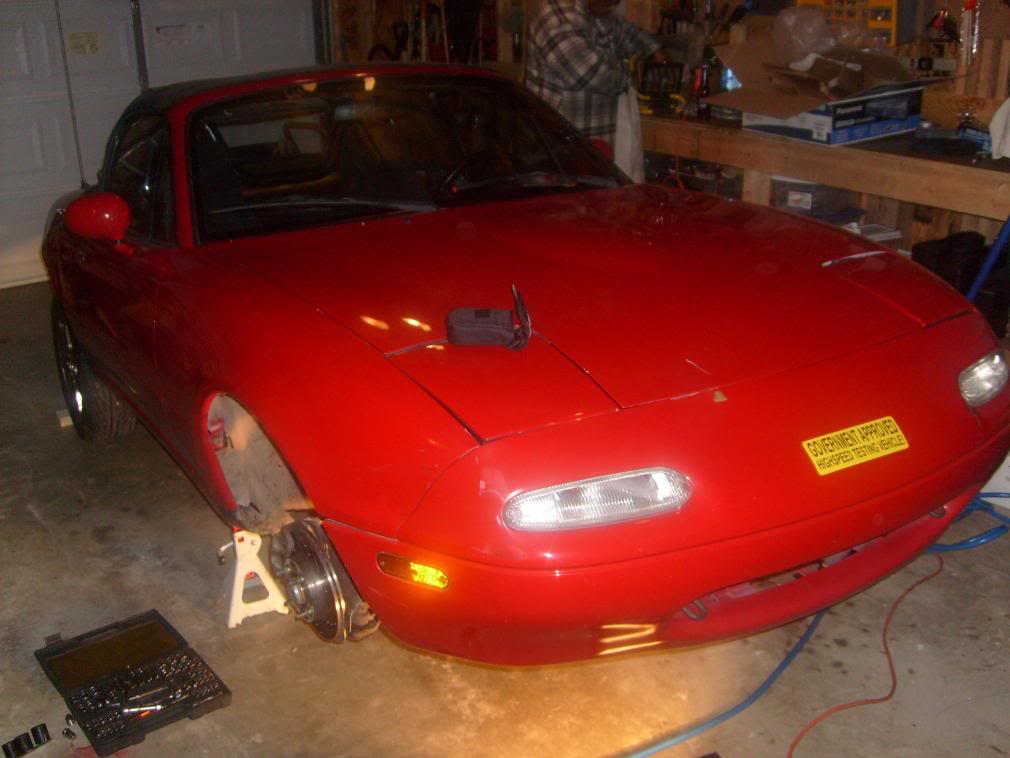
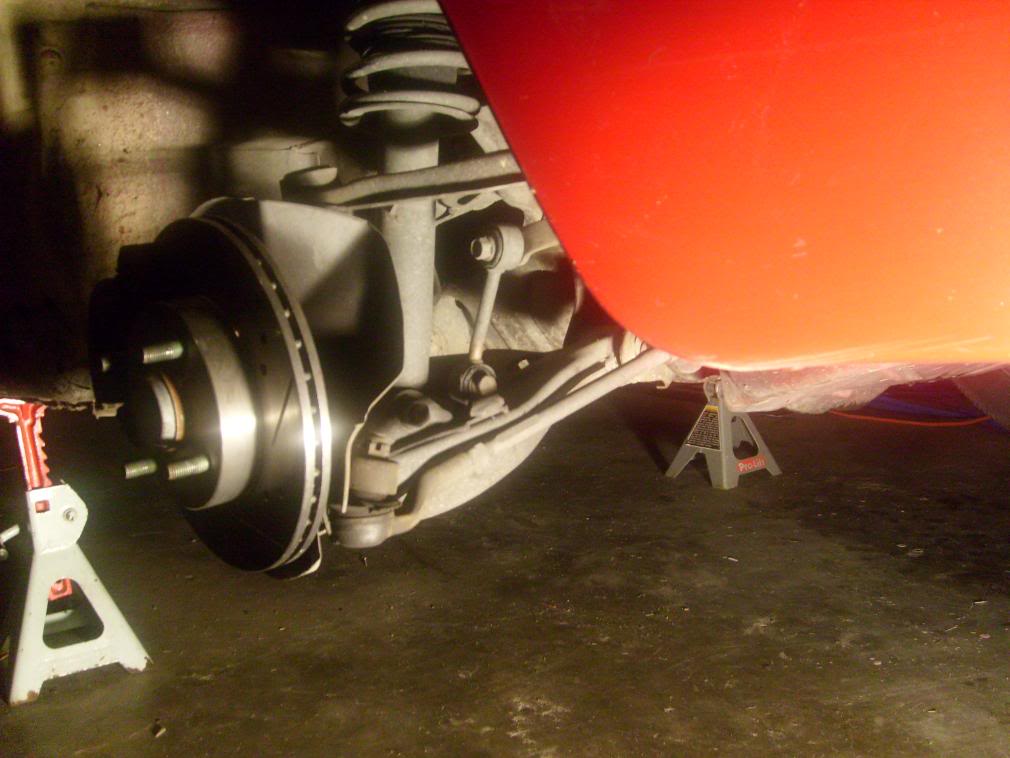
With the car in the air, it's easy to see where most of the damage to the control arm is . . .if you know what you're looking for . . .but yeah . . .it's bent pretty badly.
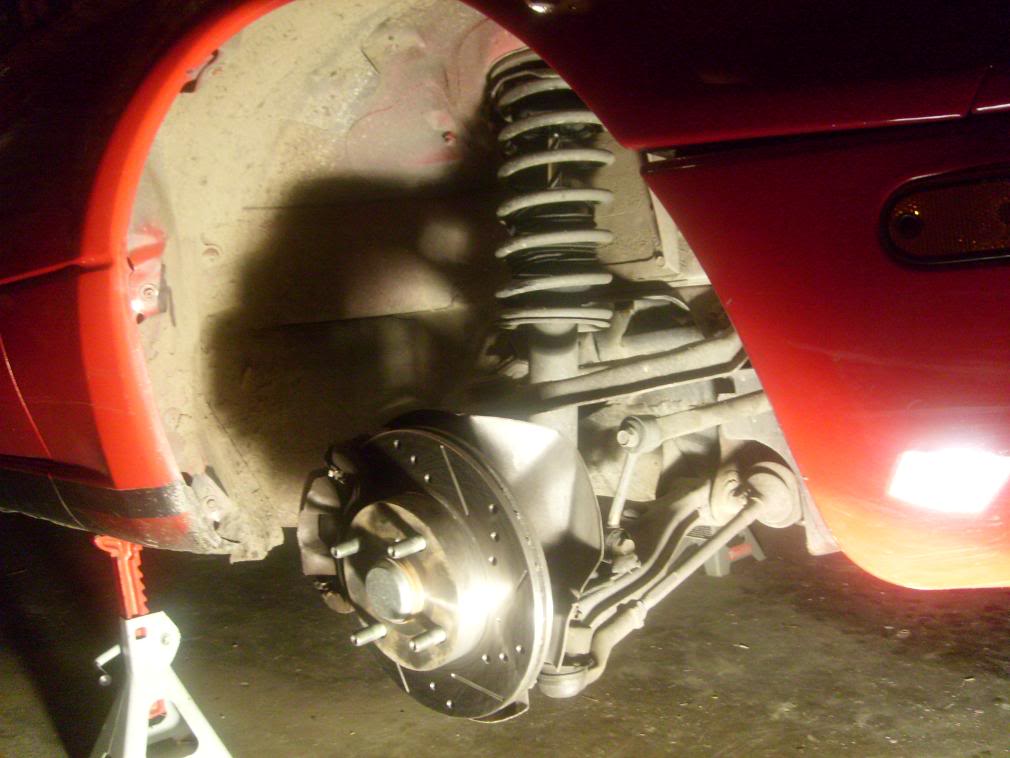
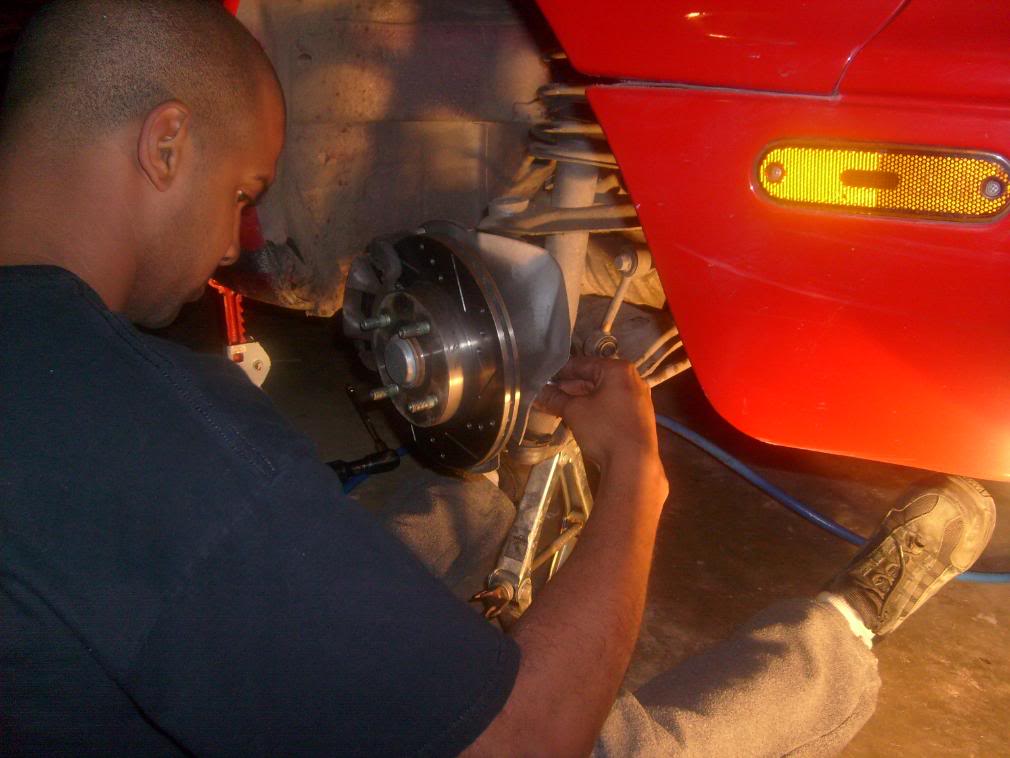
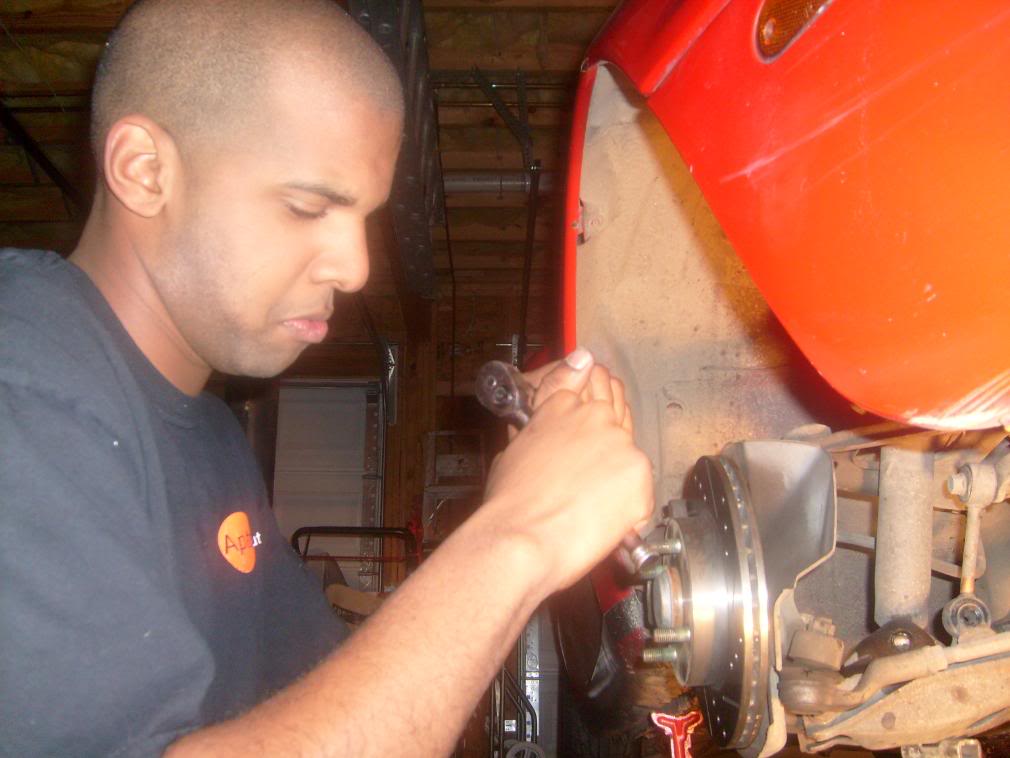
Here I am, sizing up the bolts for each component before I start. I do this so that if I get in a situation where I'm holding something with one hand, I don't have to waste time SEARCHING for the right socket with the other. Before I pull parts, I make sure that I have each size available in both open-end wrench and socket. We have LOTS of tools, including air, so this becomes easy after a while.
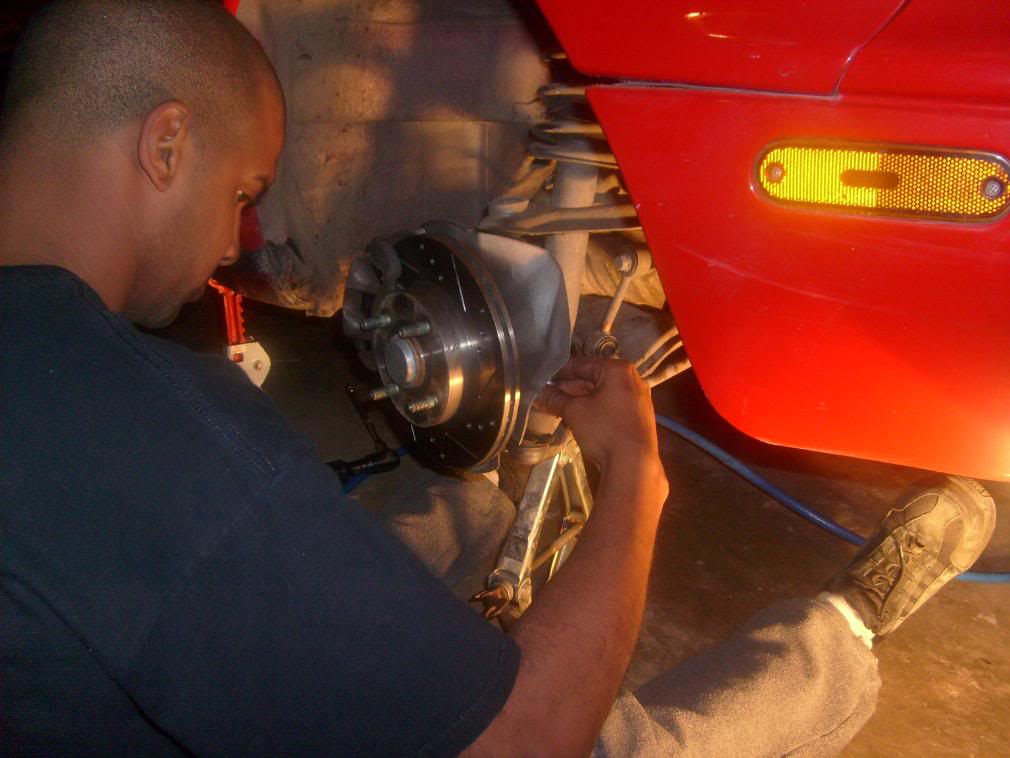
Yeah, that day, I came straight home from work, saw the control arm finally arrived with the tie rods and tie rod ends. At that point I just pulled the car into the garage and started working . . .look, I still have my work shirt on, LOL!
APTO SOLUTIONS REPRESENT!
WOOO WEEEE!
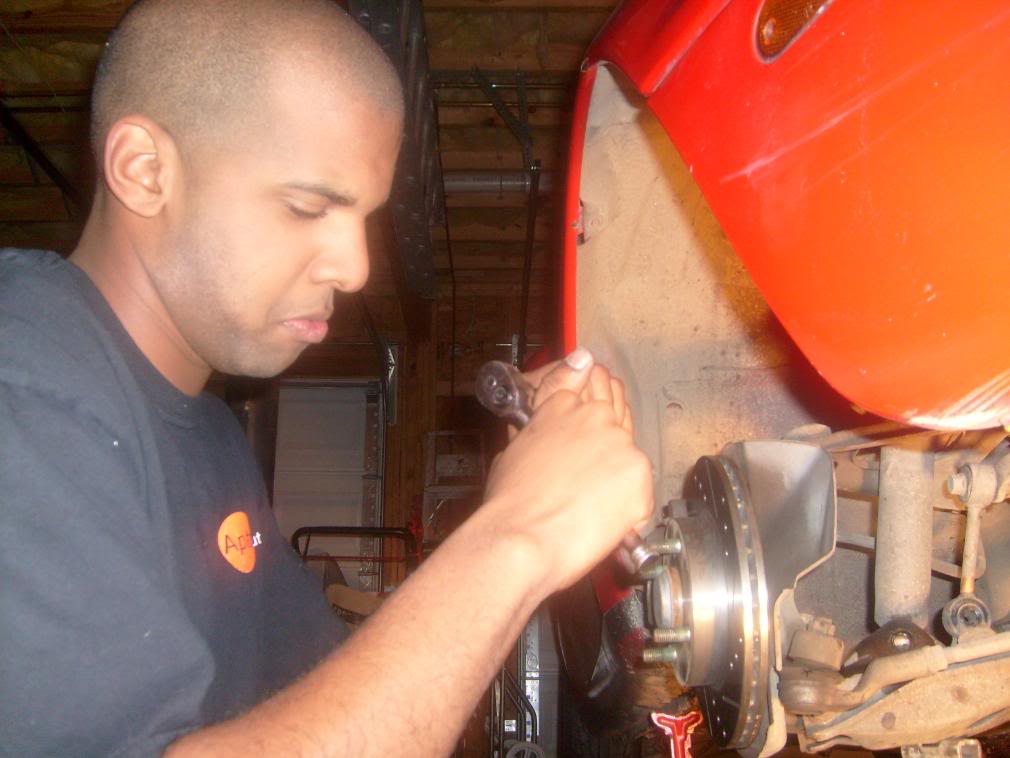
Look at that tie rod bushing . . .that thing is HIDEOUS! Absolutely destroyed . . .those ball joints have to come out too, I haven't received THOSE in the mail yet, but once I do, I'll have that car back up in the air that weekend and will update this thread.
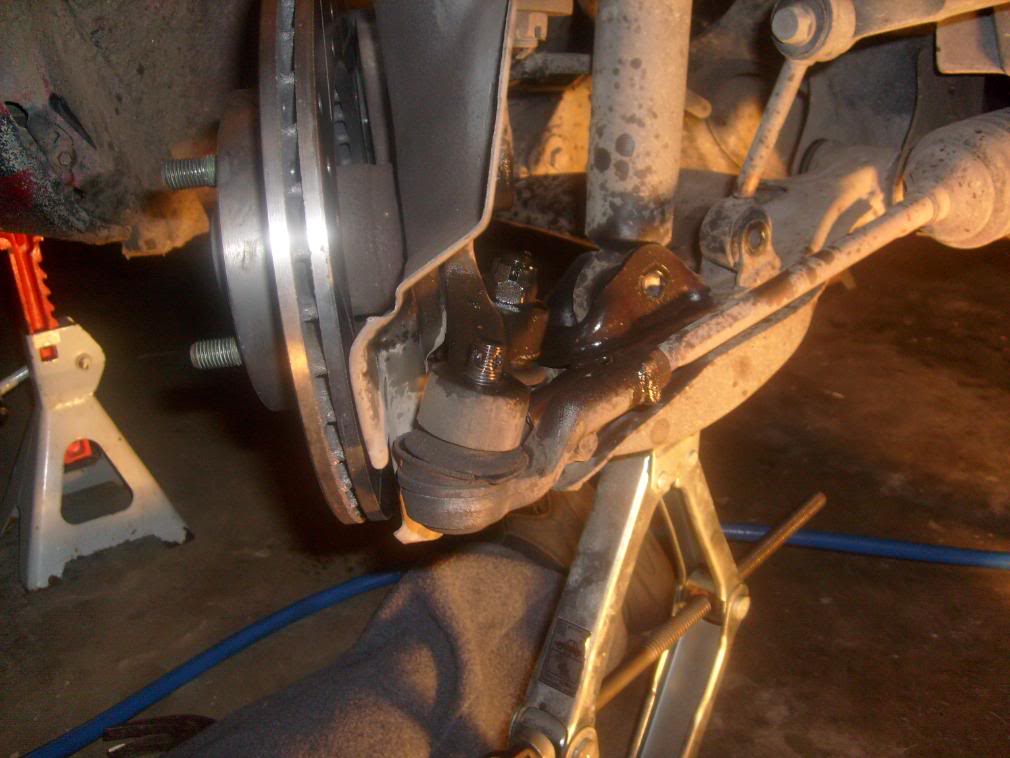
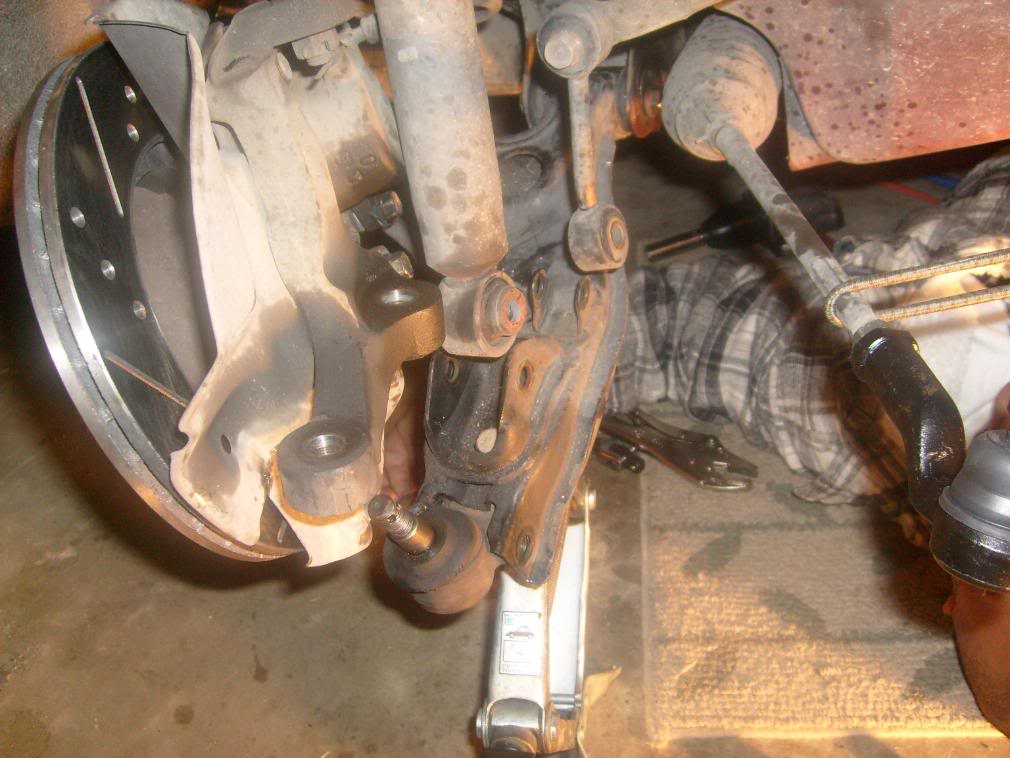
Here you can see how we've gotten the control arm disconnected from the strut and spindle, you can also see in the corner the new tie-rod end looking pretty.
DOUBLE WISHBONE SUSPENSION FTMFW!!!!
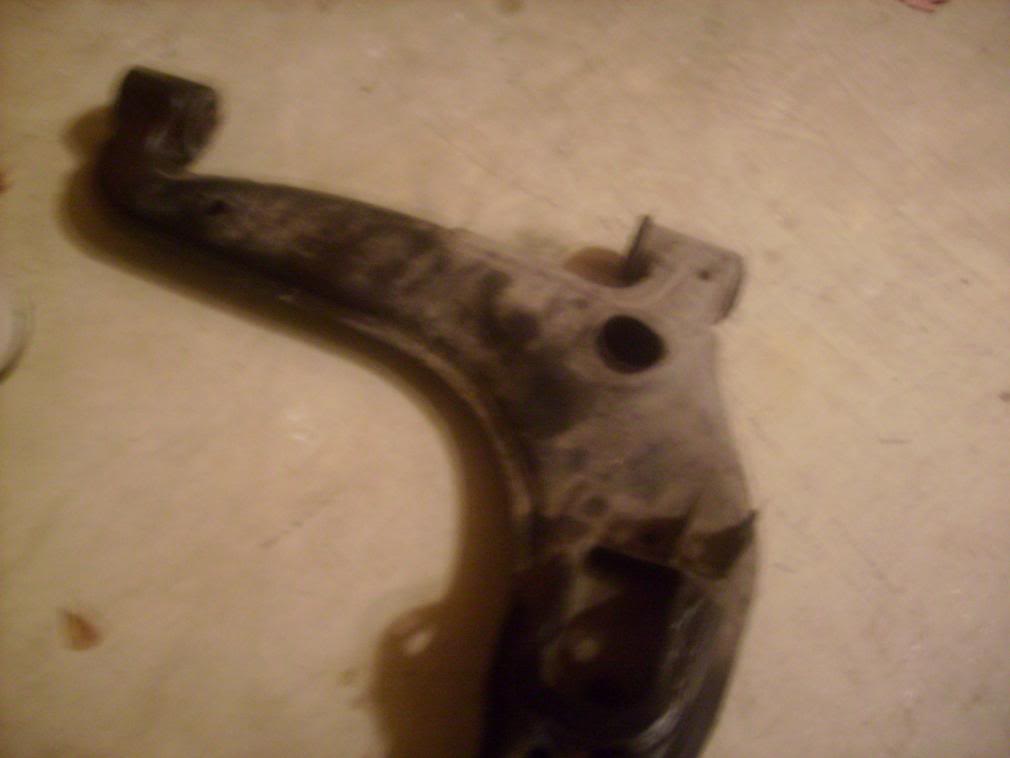
Here's the old torqued over control arm, it's hard to tell in this bad picture, but it's pretty mangled . . . .Thank God it's out!
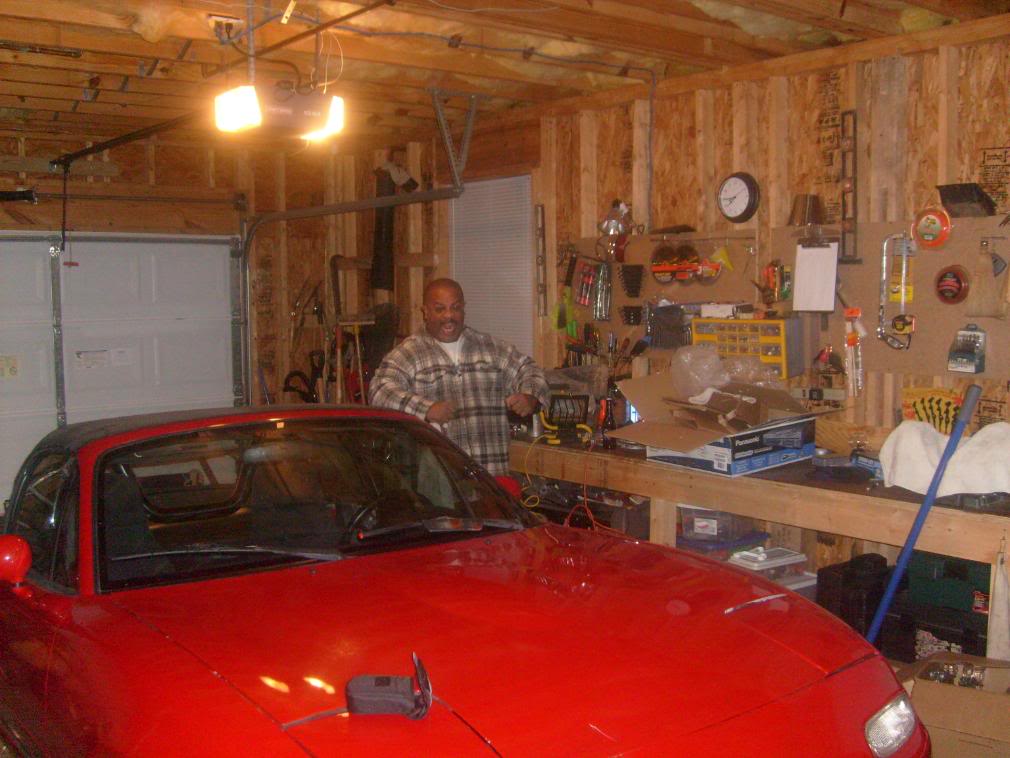
My dad's happy to finally be done! LOL! GYAH he's a huge dude! I feel sorry for the 240SX driver that pisses HIM off, LOL!
Anyway . .end . . .thank you for listening to me ^_^
-Stig
As some of you know, my car ran into a snafu with the curb a few weeks back, since then I've repaired the car with new parts, here's how it went down . . .
----------------------------------------------------------------------------------------------------------------------------
First, I had to get the car in the air and get the wheel off (bow chicka bow wow) LMAO!
This was easily done using a 6-Ton floor jack and two jackstands. We picked both sides up because I'm also changing the tie-rods and tie rod ends.
Why?
Because it's easier to just go ahead and do it while you're already under there, and most cars have those parts blown out anyway as they should be changed regularly.

With the car in the air, it's easy to see where most of the damage to the control arm is . . .if you know what you're looking for . . .but yeah . . .it's bent pretty badly.


Here I am, sizing up the bolts for each component before I start. I do this so that if I get in a situation where I'm holding something with one hand, I don't have to waste time SEARCHING for the right socket with the other. Before I pull parts, I make sure that I have each size available in both open-end wrench and socket. We have LOTS of tools, including air, so this becomes easy after a while.

Yeah, that day, I came straight home from work, saw the control arm finally arrived with the tie rods and tie rod ends. At that point I just pulled the car into the garage and started working . . .look, I still have my work shirt on, LOL!
APTO SOLUTIONS REPRESENT!

WOOO WEEEE!
Look at that tie rod bushing . . .that thing is HIDEOUS! Absolutely destroyed . . .those ball joints have to come out too, I haven't received THOSE in the mail yet, but once I do, I'll have that car back up in the air that weekend and will update this thread.

Here you can see how we've gotten the control arm disconnected from the strut and spindle, you can also see in the corner the new tie-rod end looking pretty.
DOUBLE WISHBONE SUSPENSION FTMFW!!!!

Here's the old torqued over control arm, it's hard to tell in this bad picture, but it's pretty mangled . . . .Thank God it's out!

My dad's happy to finally be done! LOL! GYAH he's a huge dude! I feel sorry for the 240SX driver that pisses HIM off, LOL!

Anyway . .end . . .thank you for listening to me ^_^
-Stig
Last edited by USMCDrifter; 01-19-2008 at 08:34 AM.


