S13 Front Swaybar Install...for the noobs!!!
#1
S13 Front Swaybar Install...for the noobs!!!
When I started my suspension project I was going to get a new aftermarket front swaybar but since the stock endlinks were bent and missing on one side I decided to get new hardware and try out the stock bar's performance before doing so.
Tools needed:
Jack
Jackstands
Socket wrench
17mm socket
15mm socket
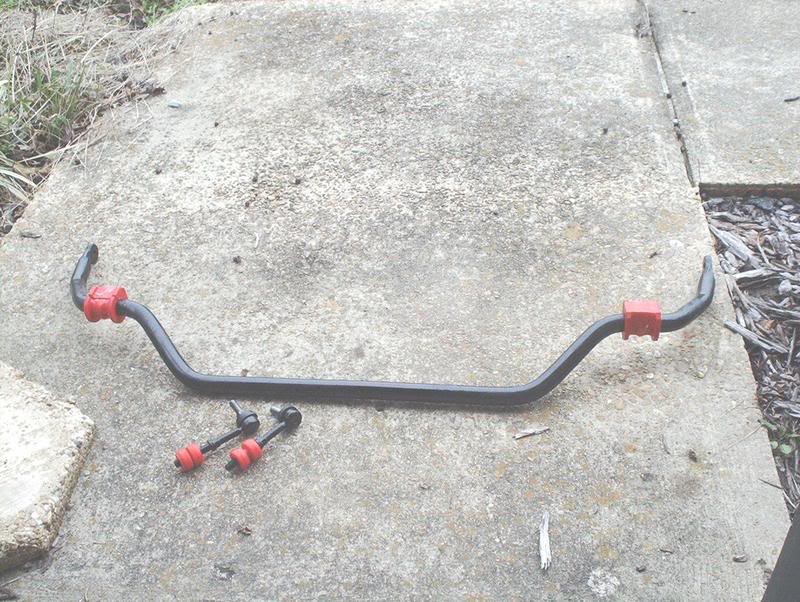
Stock front swaybar(25mm). I removed my stock front swaybar, cleaned the grime off and sprayed a couple of coats of black on. Looks like new.
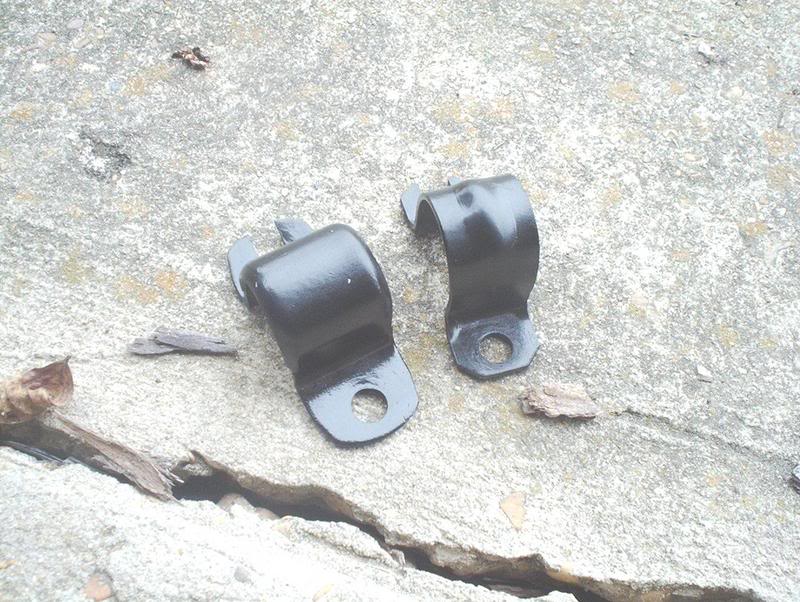
The stock d-brackets weren't bent so I cleaned, repainted and re-used them as well.
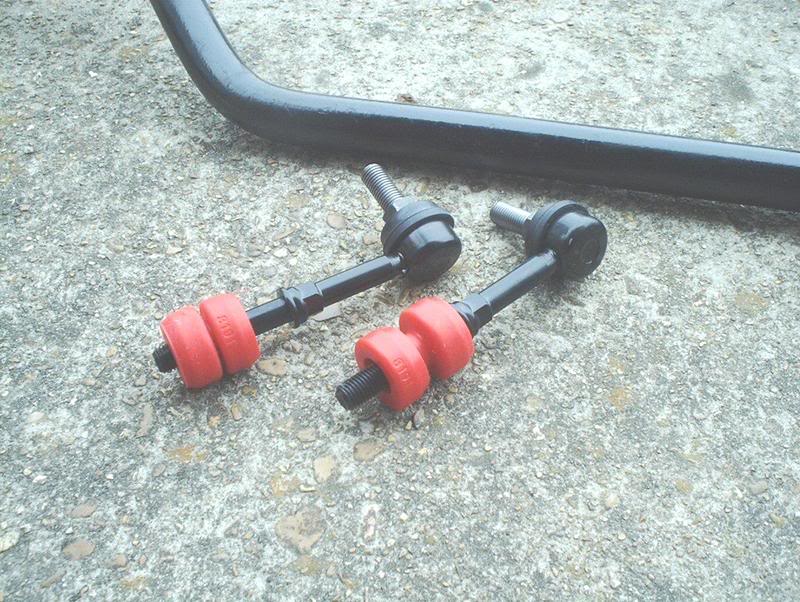
New set of stock endlinks, they don't come with any hardware from Nissan. New Energy Suspension swaybar bushings. My old endlinks were in terrible condition, the passenger side endlink was bent up pretty good and the drivers side endlink wasn't even connected to the swaybar.
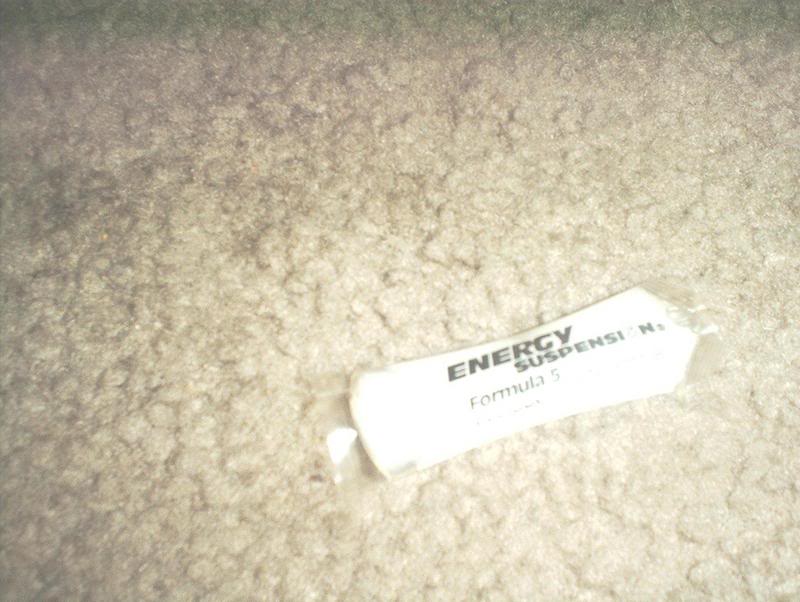
If you get a new bushing kit, use the supplied grease to lube up the swaybar where you put the d-bracket bushings on. Go ahead and put the d-bracket bushings and d-brackets on the bar.
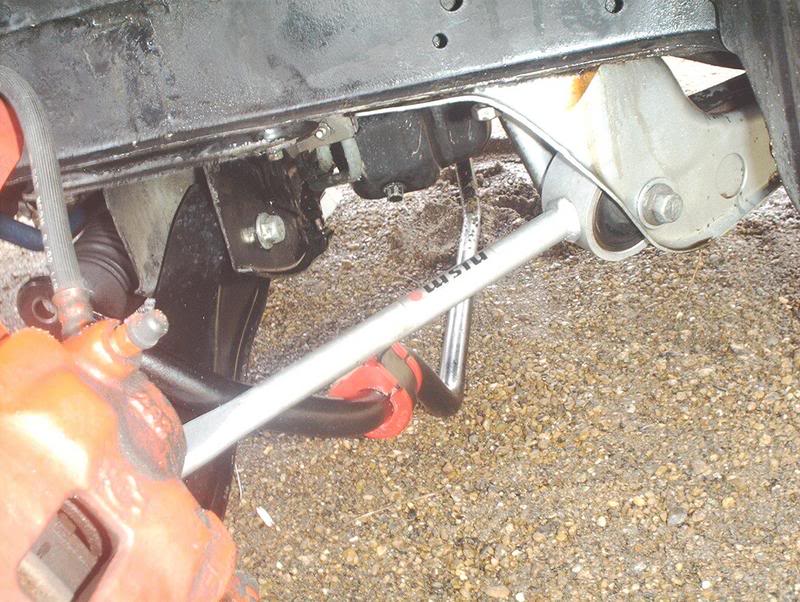
Take the swaybar and slide it underneath the front of the car.
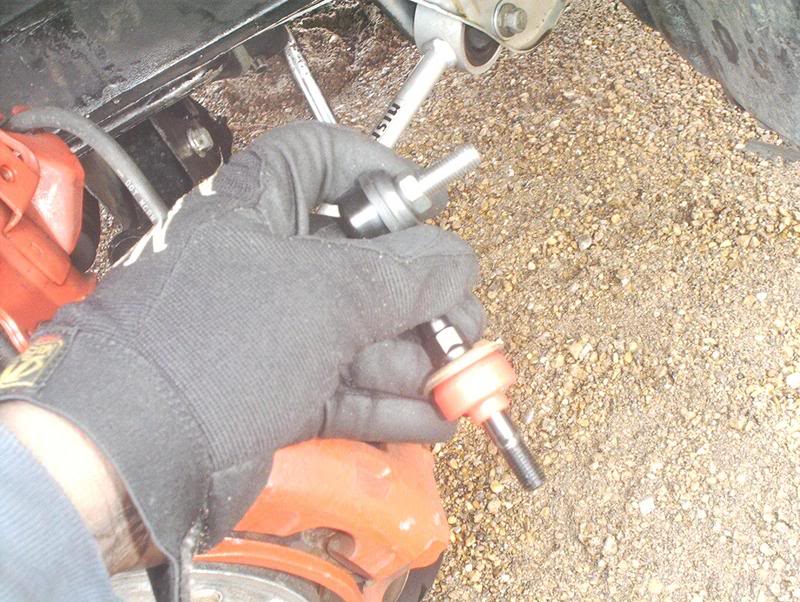
Insert the new endlinks into the top of the lower control arm.
The bushings and spacers on the endlink go in this order:spacer-bushing-control arm-bushing spacer bottom nut.
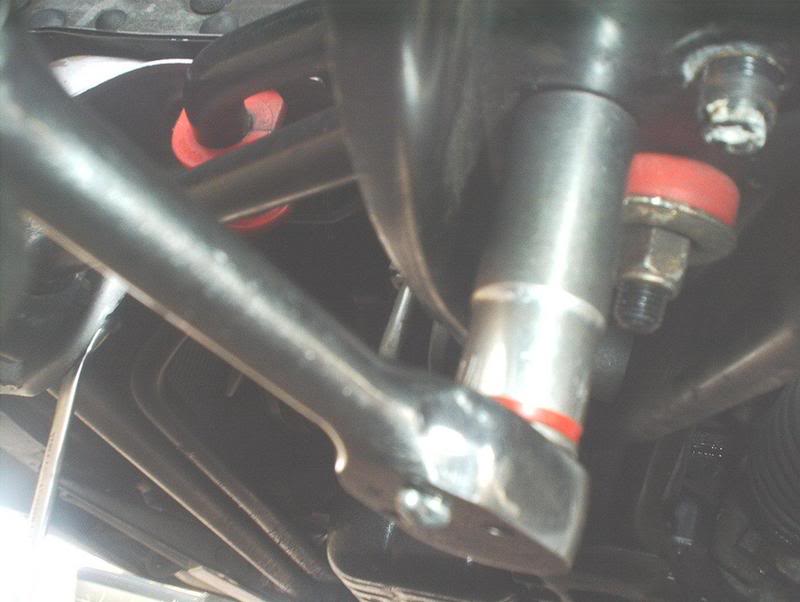
Tighten with the 15mm socket and torque to 14-22ft.lbs.
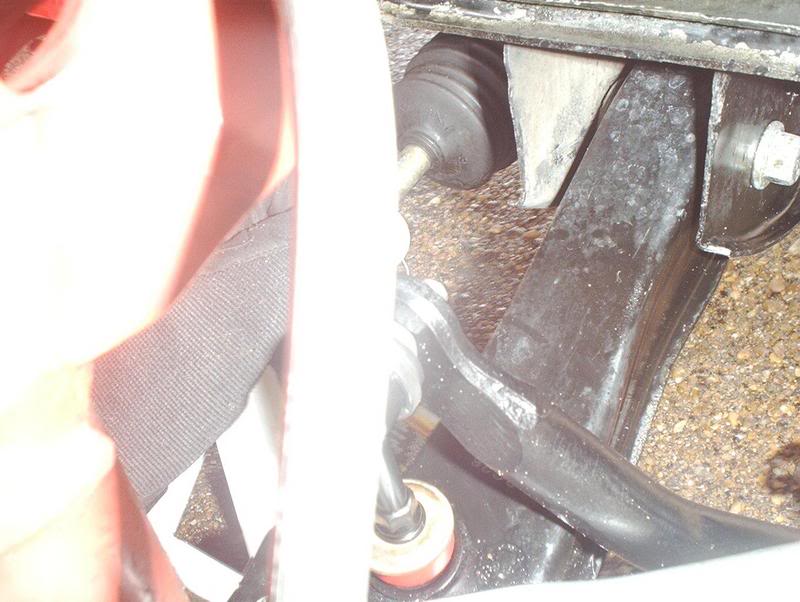
Insert the top of the endlink thru the swaybar...
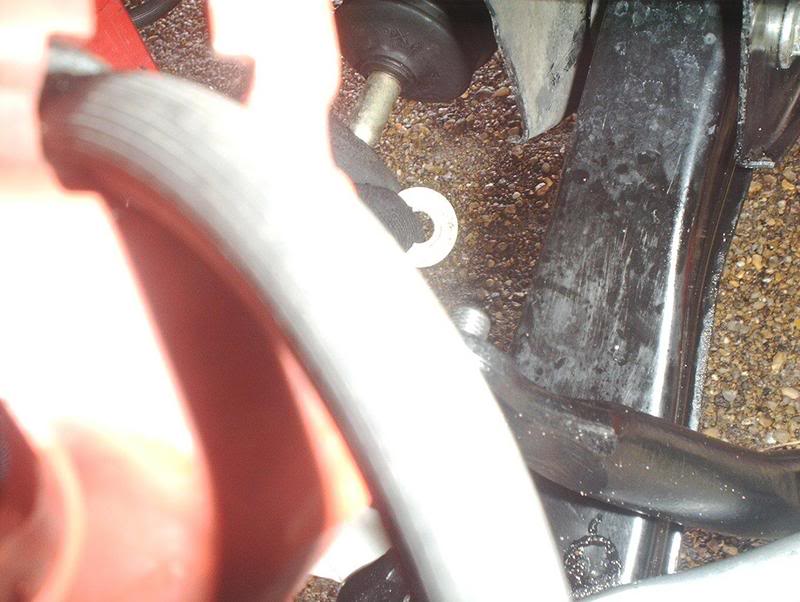
put the washer and nut on, tighten with the 15mm socket and torque to 30-35ft.lbs.
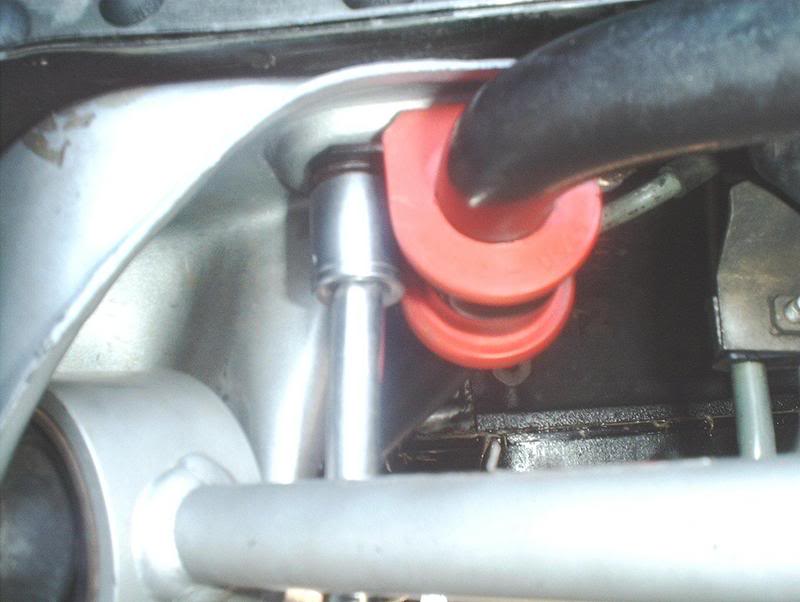
Bolt the swaybar d-bracket to the chassis...
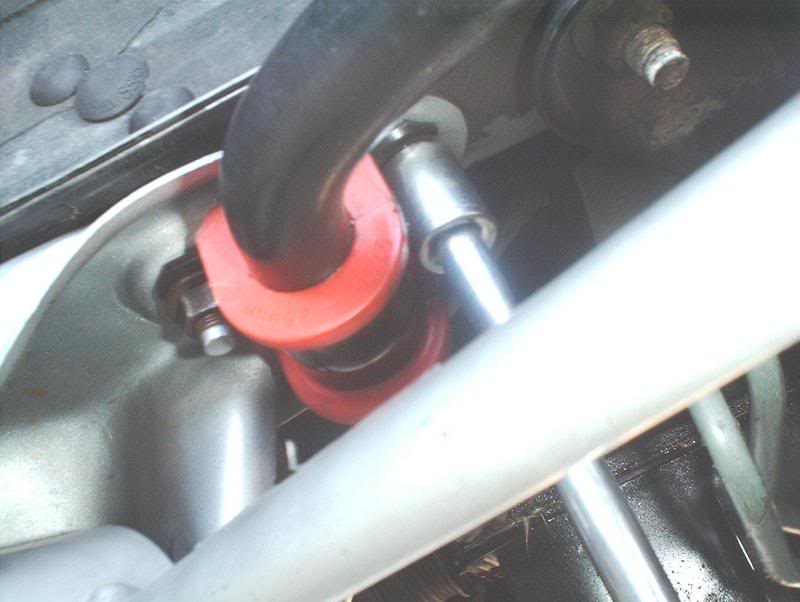
torque to 29-36ft.lbs.
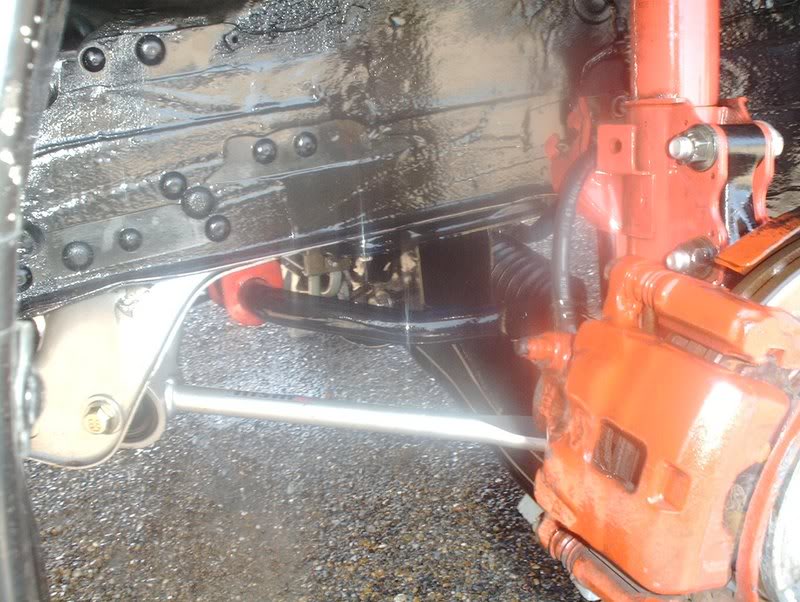
And you are done!
Tools needed:
Jack
Jackstands
Socket wrench
17mm socket
15mm socket

Stock front swaybar(25mm). I removed my stock front swaybar, cleaned the grime off and sprayed a couple of coats of black on. Looks like new.

The stock d-brackets weren't bent so I cleaned, repainted and re-used them as well.

New set of stock endlinks, they don't come with any hardware from Nissan. New Energy Suspension swaybar bushings. My old endlinks were in terrible condition, the passenger side endlink was bent up pretty good and the drivers side endlink wasn't even connected to the swaybar.

If you get a new bushing kit, use the supplied grease to lube up the swaybar where you put the d-bracket bushings on. Go ahead and put the d-bracket bushings and d-brackets on the bar.

Take the swaybar and slide it underneath the front of the car.

Insert the new endlinks into the top of the lower control arm.
The bushings and spacers on the endlink go in this order:spacer-bushing-control arm-bushing spacer bottom nut.

Tighten with the 15mm socket and torque to 14-22ft.lbs.

Insert the top of the endlink thru the swaybar...

put the washer and nut on, tighten with the 15mm socket and torque to 30-35ft.lbs.

Bolt the swaybar d-bracket to the chassis...

torque to 29-36ft.lbs.

And you are done!
Last edited by positron; 06-25-2007 at 08:47 AM.
#2
Where did you get those sway bar end links, and how much did they cost you? Did you go to the dealership? Autozone and Energy Suspension don't have them. I am doing the same thing right now and just cant find the links.
#4
I got them from Nissanparts.cc but you can use that number at any Nissan parts website. They only thing is that they didn't come with any hardware like the three spacers, and the two link nuts. The ones on my original endlinks were either in terrible shape or missing so I went to a junkyard and pulled two endlinks off a junker 240SX and used that hardware.
Last edited by positron; 06-25-2007 at 08:57 AM.
#5
Thanks man. I just went to Advance Auto and they have the whole assembly, nuts, spacers, and bushings. I think it's a little more expensive though, like 21 dollars or something.
#7
Thread
Thread Starter
Forum
Replies
Last Post
positron
How Tos / Installations
2
04-19-2007 12:34 PM
positron
For Sale - Wanting To Buy (WTB) Or Trade (WTT)
0
01-24-2007 11:12 AM


